AI video has finally reached the point where you can think like a director instead of a prompt gambler. With Veo 3.1 on HeyDream AI, you can generate short, dynamic clips from text, guide motion with reference frames, and iterate quickly until a shot looks “edit-ready.” This guide walks you through a practical workflow—what to type, what to tweak, and how to avoid the most common artifacts—then closes with a few strong HeyDream alternatives if Veo 3.1 isn’t the best tool for your specific style.
If you’re ready to start, open the Veo 3.1 AI video generator and follow the steps below.
What is Veo 3.1 (and why creators use it)?
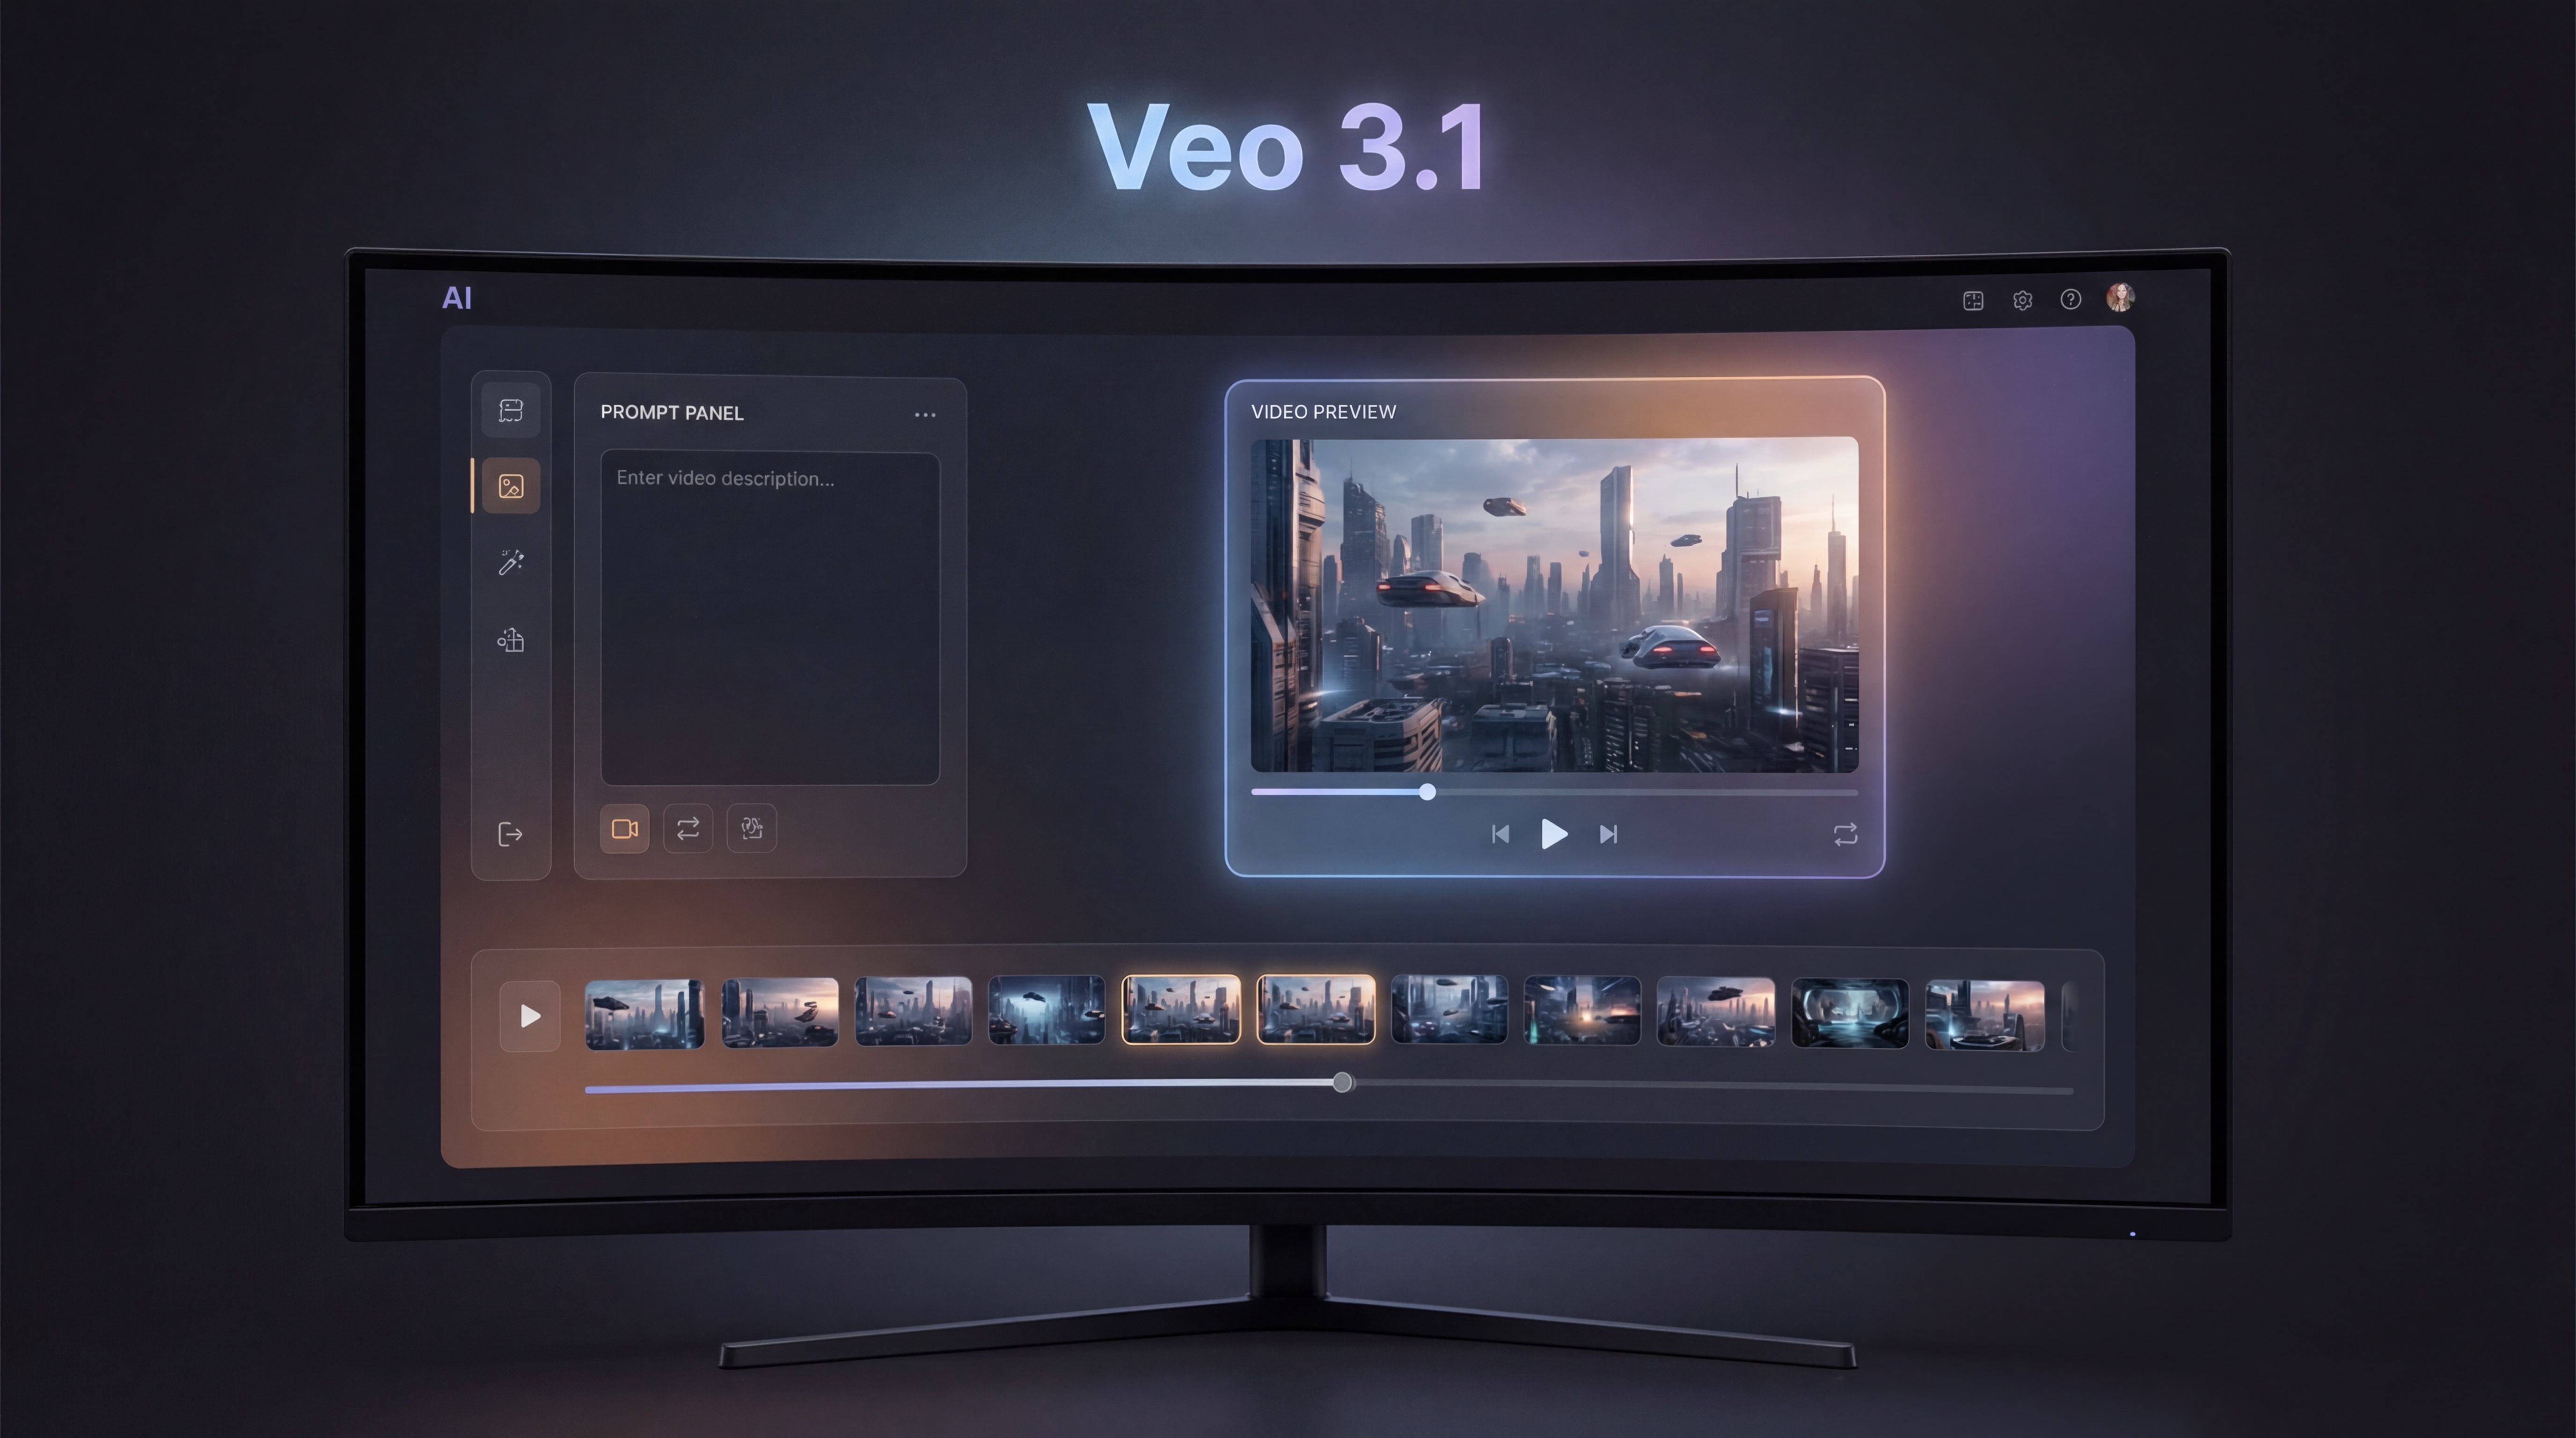
Veo 3.1 video generation is built for producing natural-looking motion and cinematic-feeling shots that can be used for creative production, concept scenes, and content creation. On HeyDream AI, the interface is designed to be straightforward: pick a model version, choose an aspect ratio, optionally upload a start frame (and sometimes an end frame), then generate and iterate.
In practical terms, Veo 3.1 is most useful when you care about:
- Camera language (wide shots, close-ups, tracking moves)
- Believable motion (subtle body movement, steady pans, consistent direction)
- Fast iteration (try multiple variations until you find the best take)
Before you generate: plan your shot like a director
The biggest quality jump doesn’t come from a longer prompt—it comes from a clearer plan. Before you type anything, decide three things:
-
Deliverable: a 6–10 second social clip, an ad shot, a cinematic establishing shot, or a character moment.
-
One subject, one action: “a chef flips noodles,” “a robot opens a door,” “a mountain lake ripples in wind.” When you ask for too many actions, you invite glitches.
-
Your constraint: pick one—aspect ratio, mood, or camera movement—and keep it consistent across iterations.
A simple mental model is: What should the viewer notice first? Then design the shot around that.
Quick Start: generate your first clip on HeyDream
Step 1 — Choose the right model version
On the Veo 3.1 AI video generator page, you’ll usually see a model selector (for example, a “Fast” option). Start with the faster option for testing. Your goal is to prove the idea works before spending more time chasing polish.
Step 2 — Pick an aspect ratio for your platform
- 16:9 for YouTube-style content, cinematic frames, and landscape shots
- 9:16 for Shorts/Reels/TikTok
- 1:1 for square placements and certain ad layouts
If you’re new, pick one ratio and stick to it through the whole session. Changing ratios mid-way can make the results feel inconsistent.
Step 3 — Text-to-video (the simplest workflow)
In the prompt box, describe the shot. Keep it focused. Generate your first draft, then immediately do one more variation. Two quick drafts teach you more than one “perfect” draft.
Step 4 — Image-to-video with a start frame (for stability)
If you have a specific character, product, or composition you want to preserve, use a start frame. This is the single most reliable way to reduce “random drift” in faces, shapes, and design details. Veo 3.1 can turn a still into a moving shot when you guide it with a reference image.
The prompt formula that works (copy/paste)
Here’s a clean prompt structure for Veo 3.1 text-to-video generation. You can copy this and replace the bracketed parts.
Prompt Template
Subject + Setting: [who/what] in [where].
Action: [one clear movement].
Camera: [shot type] with [camera movement], [lens feel].
Lighting: [time of day], [soft/hard], [key direction].
Style: [cinematic / documentary / anime / surreal / clay].
Quality guardrails: smooth motion, stable subject, no flicker, natural physics.
Optional audio: subtle ambience, light foley, gentle music mood.
Three ready-to-use example prompts
1) Cinematic establishing shot
A coastal town at dawn, mist rolling between rooftops. Seagulls glide across the frame. Wide establishing shot, slow drone push-in, gentle parallax. Soft sunrise light, warm highlights, cool shadows. Cinematic, natural motion, stable buildings, no flicker.
2) Product hero shot (ad-style)
A minimalist studio scene with a smartwatch on a matte pedestal. The watch rotates slowly as light sweeps across the glass. Medium close-up, smooth turntable motion, shallow depth of field. Clean softbox lighting, crisp reflections, premium commercial look. Stable logo, no warping, smooth motion.
3) Character moment (performance close-up)
A traveler in a raincoat stands under neon signs as rain falls. The character looks up and exhales, breath visible. Close-up, slow handheld micro-movement, 50mm lens feel. Neon lighting with wet reflections, moody cinematic tone. Stable face, natural blink, no flicker.
Best settings for cleaner motion and fewer artifacts
Even if you don’t see a long list of advanced controls, you still have powerful levers:
Keep your motion simple and intentional
A good shot usually has one primary motion:
- Subject motion (walks, turns, gestures)
- Camera motion (push-in, pan, orbit)
If both are intense, the model may blur or deform details. Start with one strong motion, then add the second later.
Use short iterations first
Generate short tests until you find the right direction, then refine. Short tests help you:
- Spot flicker or drift early
- Confirm the composition works
- Improve the prompt with less wasted effort
Use reference frames for consistency
If continuity matters—same character, same product, same scene—use image-to-video with a start frame. This often increases stability more than any wording change.
Audio and timing: making clips feel finished
Some workflows include built-in audio. When audio is available, the best approach is to keep it simple:
- “Subtle street ambience”
- “Soft room tone”
- “Gentle wind and distant birds”
Avoid complex instructions like “perfectly sync to beat drops” unless you’re willing to do multiple takes. A practical production habit is:
- Generate a visually strong clip.
- Add music and precise timing in editing.
If you’re creating short social content, you can also plan “action beats” inside the prompt (for example: “the character turns at the midpoint,” or “the product reflection sweep happens near the end”).
Shot-by-shot workflow: create a mini scene that cuts together
Instead of trying to generate a whole story in one clip, build a 3-shot sequence using Veo 3.1 AI video generator:
Shot 1: Establishing (2–4 seconds)
- Show the place and mood.
- Keep motion slow: a gentle push-in or pan.
Shot 2: Action (3–5 seconds)
- Show one clear action.
- Match the mood and lighting from Shot 1.
Shot 3: Detail (2–4 seconds)
- Close-up texture: hands, product surface, eyes, raindrops.
- Use minimal movement; let the detail sell realism.
Consistency trick: reuse the same “identity” tokens in every prompt (wardrobe, color palette, environment description), and keep camera language consistent. If you use a reference image, keep it the same across shots.
Troubleshooting: common failures and quick fixes
Problem: flicker or unstable textures
Fix: simplify the background and reduce competing motion.
- Remove “crowds,” “sparkles,” “confetti,” and fast camera moves.
- Keep lighting consistent: “soft key light” instead of multiple sources.
Problem: mushy or slow motion
Fix: specify camera and subject motion separately.
- “The camera slowly pushes in while the subject remains still.”
- “The subject walks forward while the camera stays locked.”
Problem: warped faces/hands
Fix: reduce complexity and prioritize a single subject.
- Avoid “group of friends dancing” early on.
- Use a close-up with gentle motion.
- If possible, anchor with a start frame.
Problem: results feel too literal
Fix: add director cues without bloating the prompt.
Try phrases like:
- “cinematic composition”
- “naturalistic movement”
- “realistic physics”
Pro tips: iterate like a production pipeline
If you want consistently better outputs, use a “prompt stack.” Keep a base scene, then layer improvements:
- Base scene (subject + setting + action)
- Camera upgrade (shot type + movement + lens feel)
- Lighting upgrade (time of day + tone)
- Polish (style + guardrails)
Also keep a reusable “do-not” list you can paste in:
- no flicker
- no warped hands
- stable face
- clean edges
- natural physics
This helps you move faster and prevents repeating the same mistakes.
Use-case playbook: pick your scenario
Social clips
- Short, loopable motion
- Bold composition
- One strong action and one strong camera move
Ads and product demos
- Controlled studio lighting
- Stable logos and readable products
- Minimal background complexity
Concept art to motion
- Use a keyframe (start image)
- Add subtle camera movement
- Keep the subject stable; move the environment gently
Mood loops
- Wind, water, clouds, neon reflections
- Repeatable, slow motion that feels “endless”
Alternatives on HeyDream AI (when to switch tools)
Veo 3.1 is a great starting point, but different models shine in different scenarios. If you want to compare styles without leaving the platform, try these HeyDream options:
- Want a different cinematic motion profile? Try Kling 3.0.
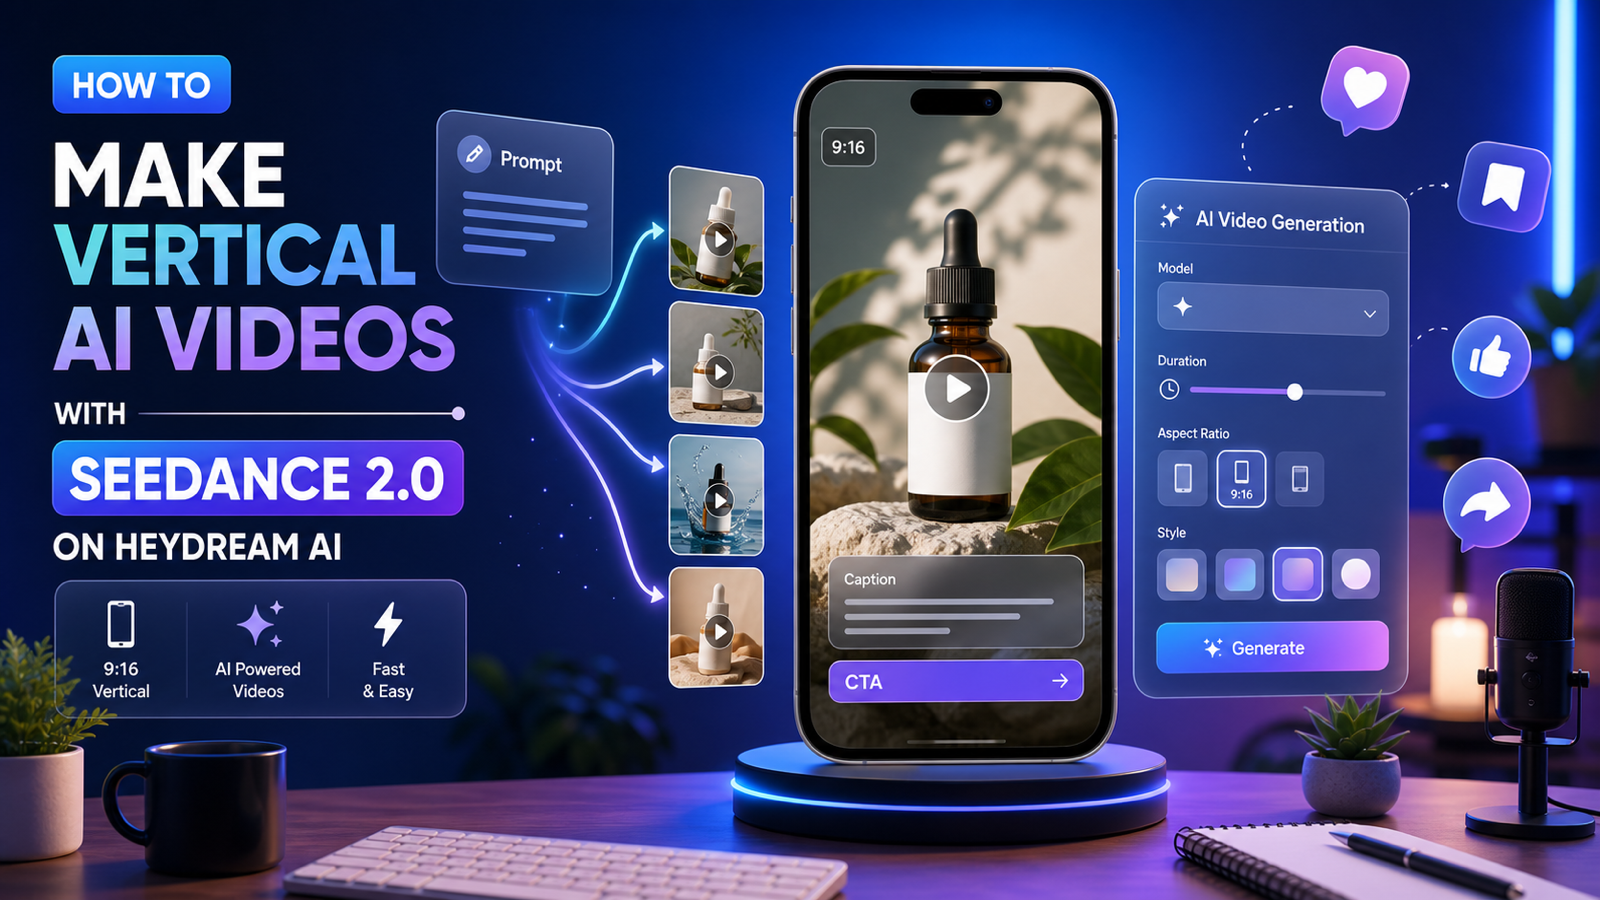
- Want a narrative-friendly workflow and different aesthetics? Test Seedance 2.0.
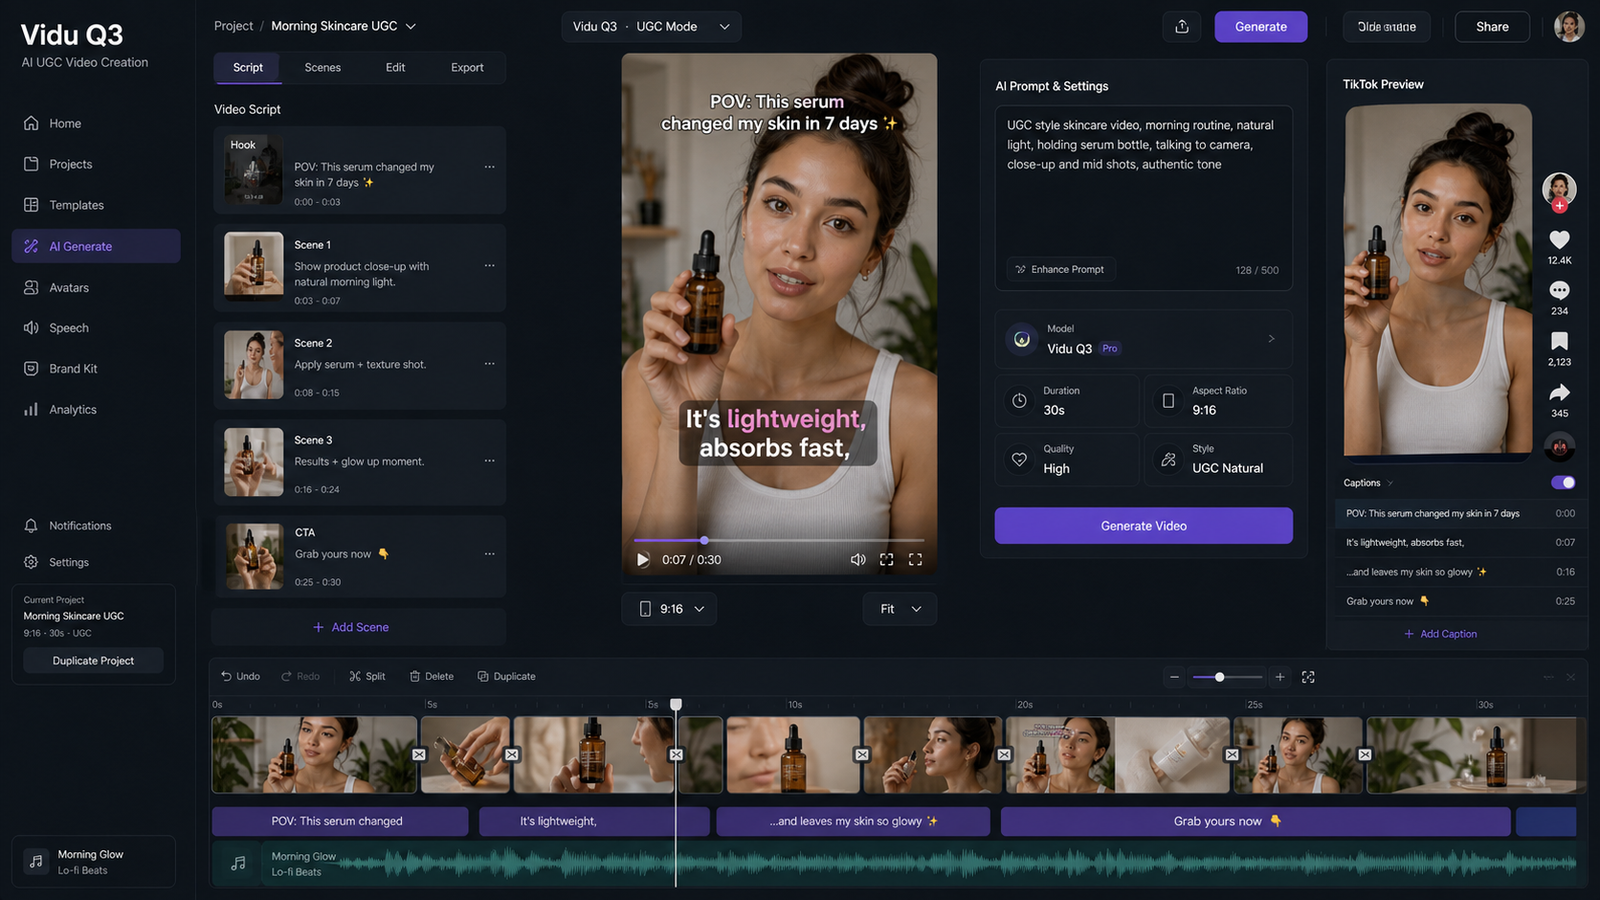
- Want another style and motion balance for social clips? Use Vidu Q3.
- Want another high-profile baseline for comparison? Check Sora 2 AI.
- Want an additional option in the same ecosystem? Try Wan 2.5 AI.
Final checklist (use this every time)
If you only follow one workflow, use this:
- Start at Veo 3.1 AI video generator.
- Plan one shot: one subject, one action.
- Generate two quick tests.
- Improve with a prompt stack (camera → lighting → polish).
- Use a start frame when consistency matters.
- Build a 3-shot sequence instead of forcing one clip to do everything.
Once you think in shots and revisions, Veo 3.1 becomes a practical creative tool—not just a novelty. And if a specific scene demands a different motion style, HeyDream’s model lineup makes it easy to swap engines and keep creating.