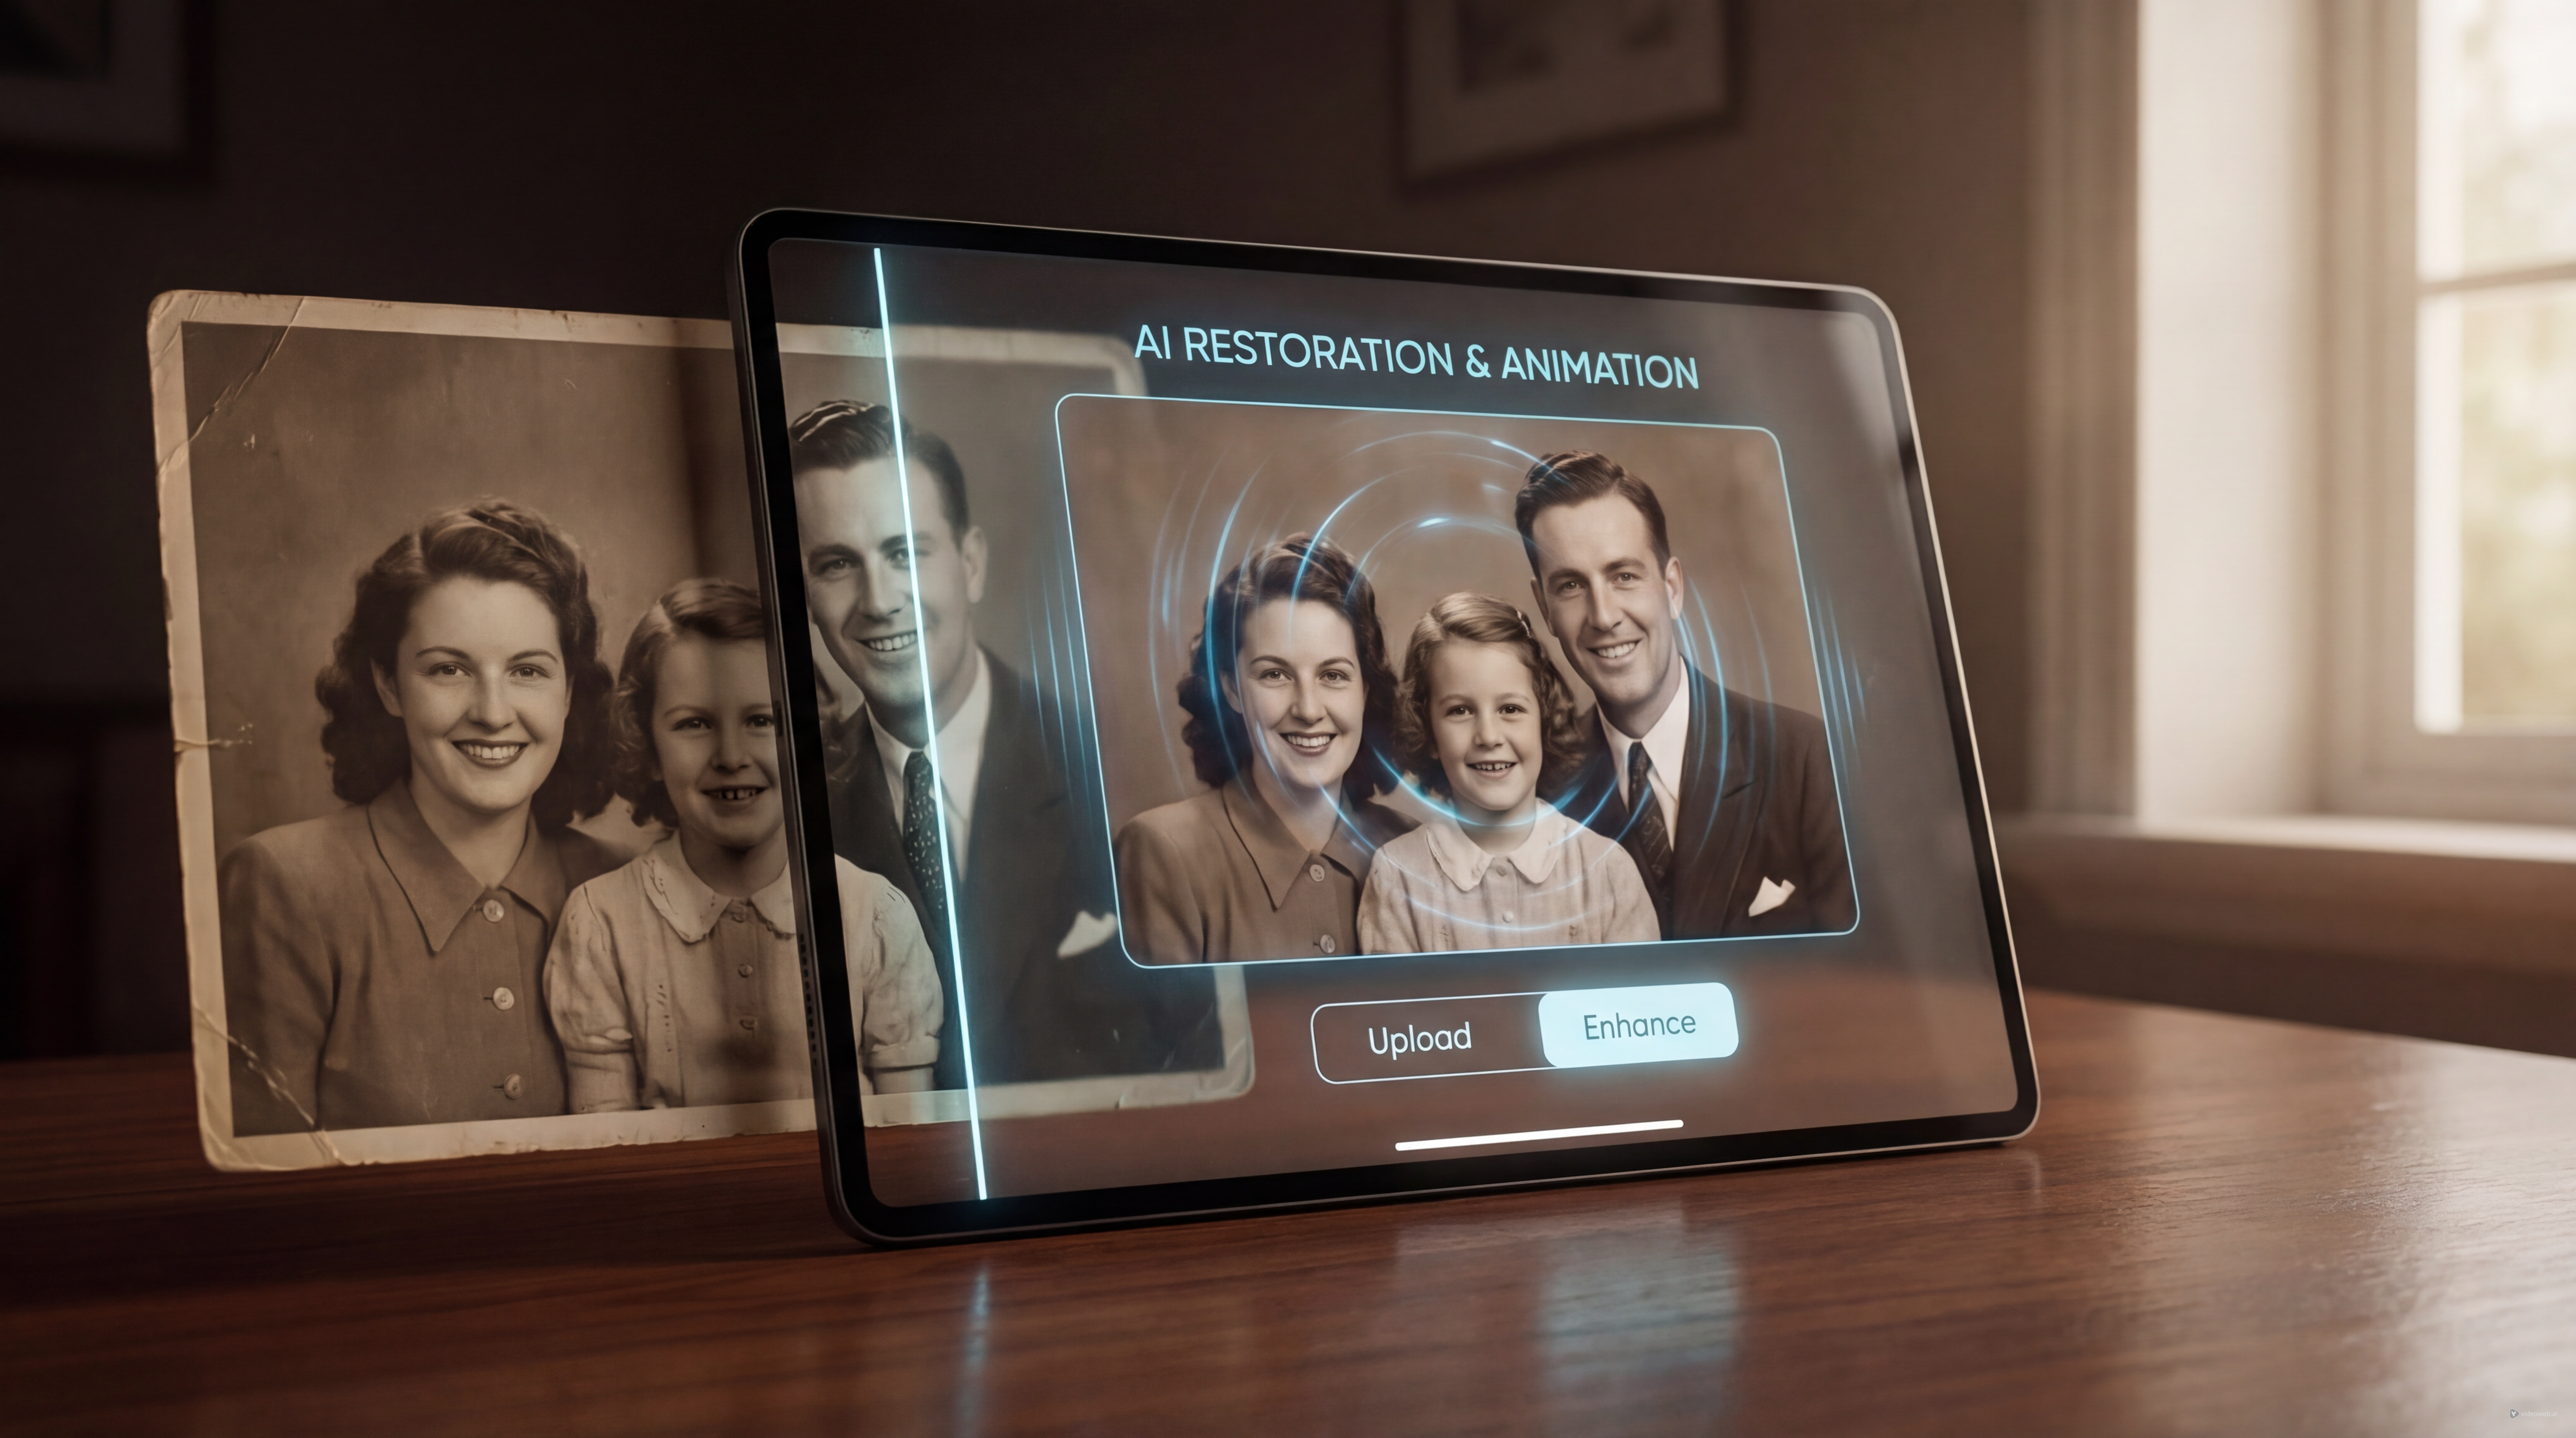
A still photograph can hold a lot of emotion, but motion changes the experience completely. When an old portrait begins to blink, smile, or gently shift toward the camera, it can feel as if a memory has been reopened for a few seconds. That is the appeal of old photo animation on DreamMachine AI.
This tool is designed for people who want to transform a scanned portrait, family snapshot, or historical image into a short video without learning a complex editing workflow. If you have been looking for a simple photo to video process, DreamMachine AI makes the experience approachable: upload the image, guide the motion, generate the clip, and review the result.
What makes this workflow especially appealing is that it does not need a large project setup. A single image can become a short emotional scene, whether you are making a family tribute, a social media nostalgia post, or a creative history video.
Why old photo animation feels so powerful
A static image invites reflection, but motion creates presence. That is why old photo animation often feels more intimate than a simple slideshow. Even subtle movement can make the subject seem more immediate, especially when the original photo already carries emotional weight.
This kind of tool works particularly well for family archives, memorial edits, documentary inserts, genealogy projects, and personal keepsakes. It can also be used for creative storytelling, such as making a historical figure appear to come alive for a few seconds in an educational or artistic piece.
For many users, the attraction is not dramatic motion. It is believable motion. The best result usually is not the most animated version, but the one that respects the tone of the original image. A slow head movement, a soft blink, or a slight smile is often enough.
That is why this image to video AI workflow works best when you think of it as restoration through motion rather than spectacle.
Start with the best possible source image
Before you generate anything, spend a few minutes choosing and preparing the right photo. The final video quality depends heavily on the quality of the source image. A clean, well-scanned portrait with visible facial detail will usually perform better than a small, damaged, or heavily compressed file.
If possible, use a version with clear facial features, balanced lighting, and minimal blur. Crop the image so the face and upper body are easy to read. If the subject is too small within the frame, the model may struggle to create natural facial motion. Likewise, if the image is torn, stained, or extremely noisy, it helps to restore or clean it first before using the photo to video AI tool.
A few practical choices can improve your result immediately:
- Use the highest-resolution scan you have.
- Keep the subject centered when possible.
- Avoid extreme crops that cut through the chin, forehead, or shoulders.
- Choose portraits with readable eyes and mouth areas.
- Start with one subject before testing group photos.
If your goal is emotional realism, simpler is better. A straightforward portrait usually works better than a busy family scene with multiple faces competing for attention.
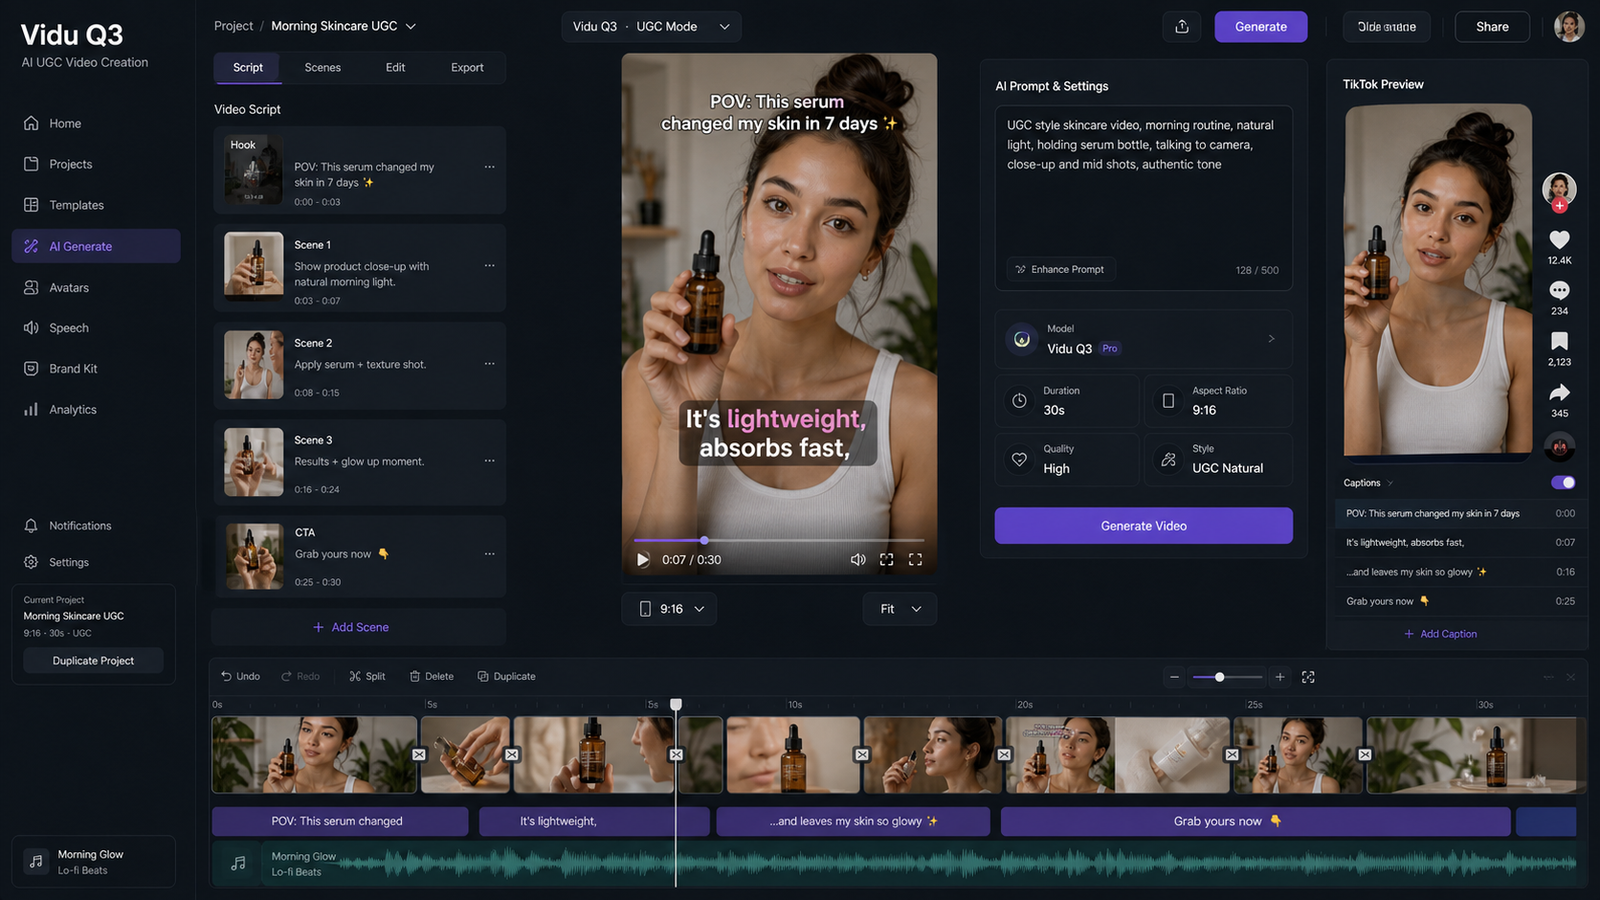
How to use DreamMachine AI for old photo animation
The workflow is simple enough for beginners. Upload your image into the tool, review the composition, and generate the clip. That makes it a practical option for anyone who wants a direct photo to video experience without dealing with editing timelines or complicated motion controls.
Once the photo is uploaded, pay attention to how the subject is framed. If the face appears too low, too far away, or awkwardly cropped, fix the image before proceeding. Small composition problems in the source file often become larger problems in the generated video.
At this stage, think about the kind of motion you actually want. The most effective prompts for old photo animation are usually restrained. Instead of asking for strong body motion or exaggerated emotion, guide the tool toward subtle actions: a gentle blink, a soft smile, a slight head turn, or a calm forward gaze.
If you push the motion too far, the result can feel artificial. For old photographs, restraint usually looks more respectful and more convincing.
What to ask for in the motion prompt
Prompting matters because it tells the system what kind of movement should define the scene. A good prompt for this kind of image to video AI task should be short, visual, and grounded in realistic human motion.
For example, you can describe the subject as gently blinking, breathing softly, slightly turning the head, or showing a faint smile. You can also suggest subtle camera movement if the tool supports it, such as a slow cinematic push-in.
The key is to match the motion to the personality of the image. A formal vintage portrait may work better with minimal eye and head motion. A casual family photo may support a warmer smile or a softer shift in posture. In most cases, the best photo to video AI result comes from moderation, not complexity.
Common problems and how to fix them
If the output looks strange, the issue is often predictable. Distorted faces, odd blinking, and overactive motion usually come from one of three things: weak source quality, unclear facial detail, or prompts that ask for too much.
If the face warps, try a cleaner image. If the expression feels unnatural, reduce the motion request. If the subject seems to move too much, simplify the prompt and focus only on the eyes, head, or mouth. Sometimes the best fix is simply running a second version with less ambitious motion.
You should also be careful with damaged or heavily aged images. Cracks, folds, and stains can confuse the model. Cleaning the image before generating the video often leads to a noticeably stronger result.
Think of this process as testing compatibility between the image and the motion. A restrained prompt paired with a strong portrait usually gives a better result than an elaborate prompt paired with a weak scan.
Best ways to use the finished video
Once the clip is ready, you can use it in many ways. It works beautifully in family memorial videos, anniversary edits, documentary openings, classroom presentations, and social posts built around nostalgia. A well-made old photo animation clip can also work as a quiet opening shot before a longer story begins.
If you are sharing it publicly, keep the presentation simple. Let the emotional weight come from the image itself. Add music, captions, or narration only if they strengthen the mood rather than overwhelm it.
DreamMachine AI’s photo to video workflow is most effective when it stays focused on memory, realism, and emotional tone. You do not need dramatic motion to make an image feel alive. In many cases, the smallest movement creates the strongest response.
Recommended Tools and Models
- Photo to Video for animating modern still images beyond vintage-photo use cases
- Image to Video for a broader image-to-video AI workflow
- Veo 3.1 AI Video Generator for more cinematic prompt-based generation
- Image to Video for general still-image animation
- AI Animate Photo for related photo-animation inspiration
- The 2026 Image-to-Video Guide for wider model comparisons and prompting ideas
Related Articles
- How to Use DreamMachine AI’s AI Video Generator: A Practical Guide for Text and Image Workflows
- The Release of Seedance 2.0: What Dropped, What’s New, and What Creators Should Do Next
- Dream Machine AI: Revolutionizing Video Generation
People Also Read
- Veo 3.1 Video Generation Guide: How to Create Cinematic Clips
- How to Create High-Quality AI Videos with Veo 3.1
- Bring Still Memories to Life: AI Animate Photo Magic
- Image to Video with Vidu Q1 AI — Turn Still Frames into Cinematic Motion
- The 2026 Image-to-Video Guide for Sea Imagine AI: Best Models & Prompts
- SeaImagine AI Text-to-Video Guide: How to Choose Models and Create Better Clips