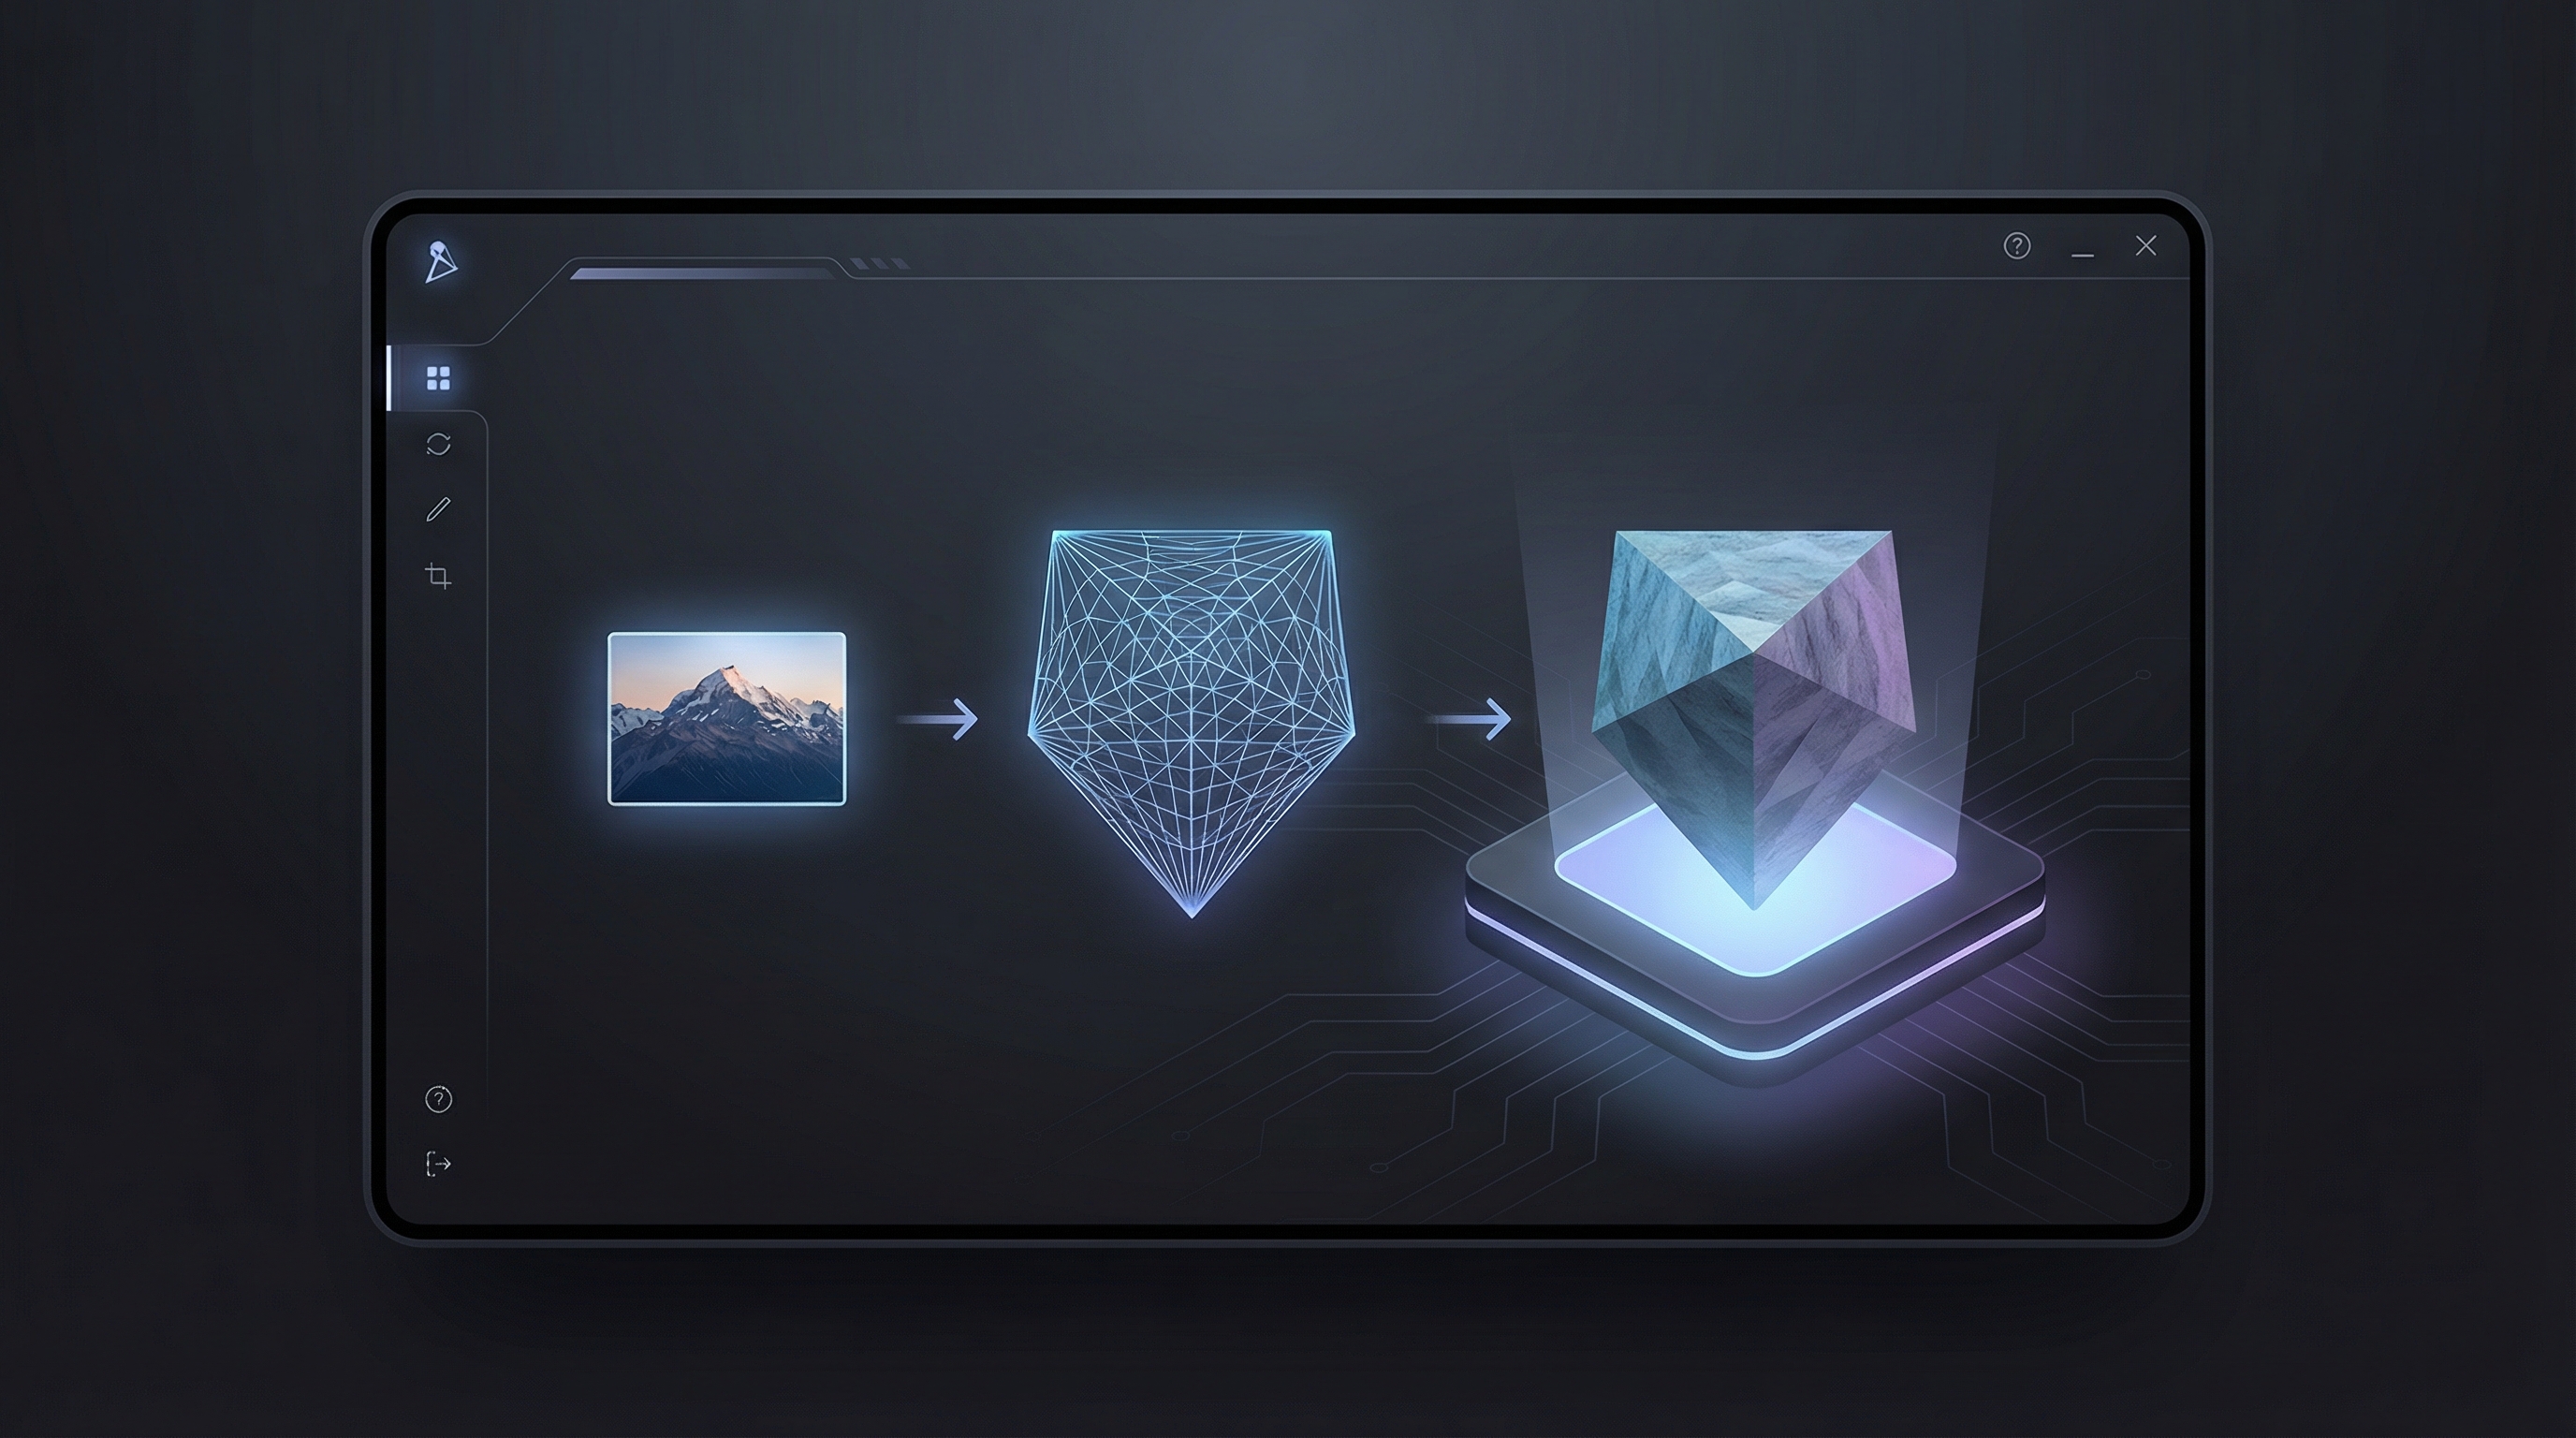
Turning a single image into a usable 3D model used to be a “specialist-only” workflow—photogrammetry rigs, careful capture, and lots of cleanup. Today, AI reconstruction makes it dramatically faster to prototype props, product mockups, and stylized assets.
This tutorial walks you through HeyDream AI’s Image to 3D tool powered by Tripo, from choosing the right input image to exporting a model you can refine in Blender or drop into a real-time engine. If you’re looking for a clear, beginner-friendly Tripo 3D image to 3D guide, you’re in the right place.
What “Image to 3D” means (and what to expect)
“Image to 3D” is the process of converting a 2D picture into a 3D mesh—often with a texture map baked in. It’s great for speed, but it’s not magic: the AI can’t see the hidden side of an object, and complex materials can confuse reconstruction.
You’ll get the best results when:
- The subject is clearly separated from the background
- The silhouette is readable (strong outer shape)
- Lighting is even, with minimal glare
You may need additional cleanup if your image has thin parts (straps, fingers, wires), transparency (glass), or heavy reflections (chrome). That said, for quick prototyping and concept-to-asset workflows, Tripo 3D image to 3D is surprisingly effective.
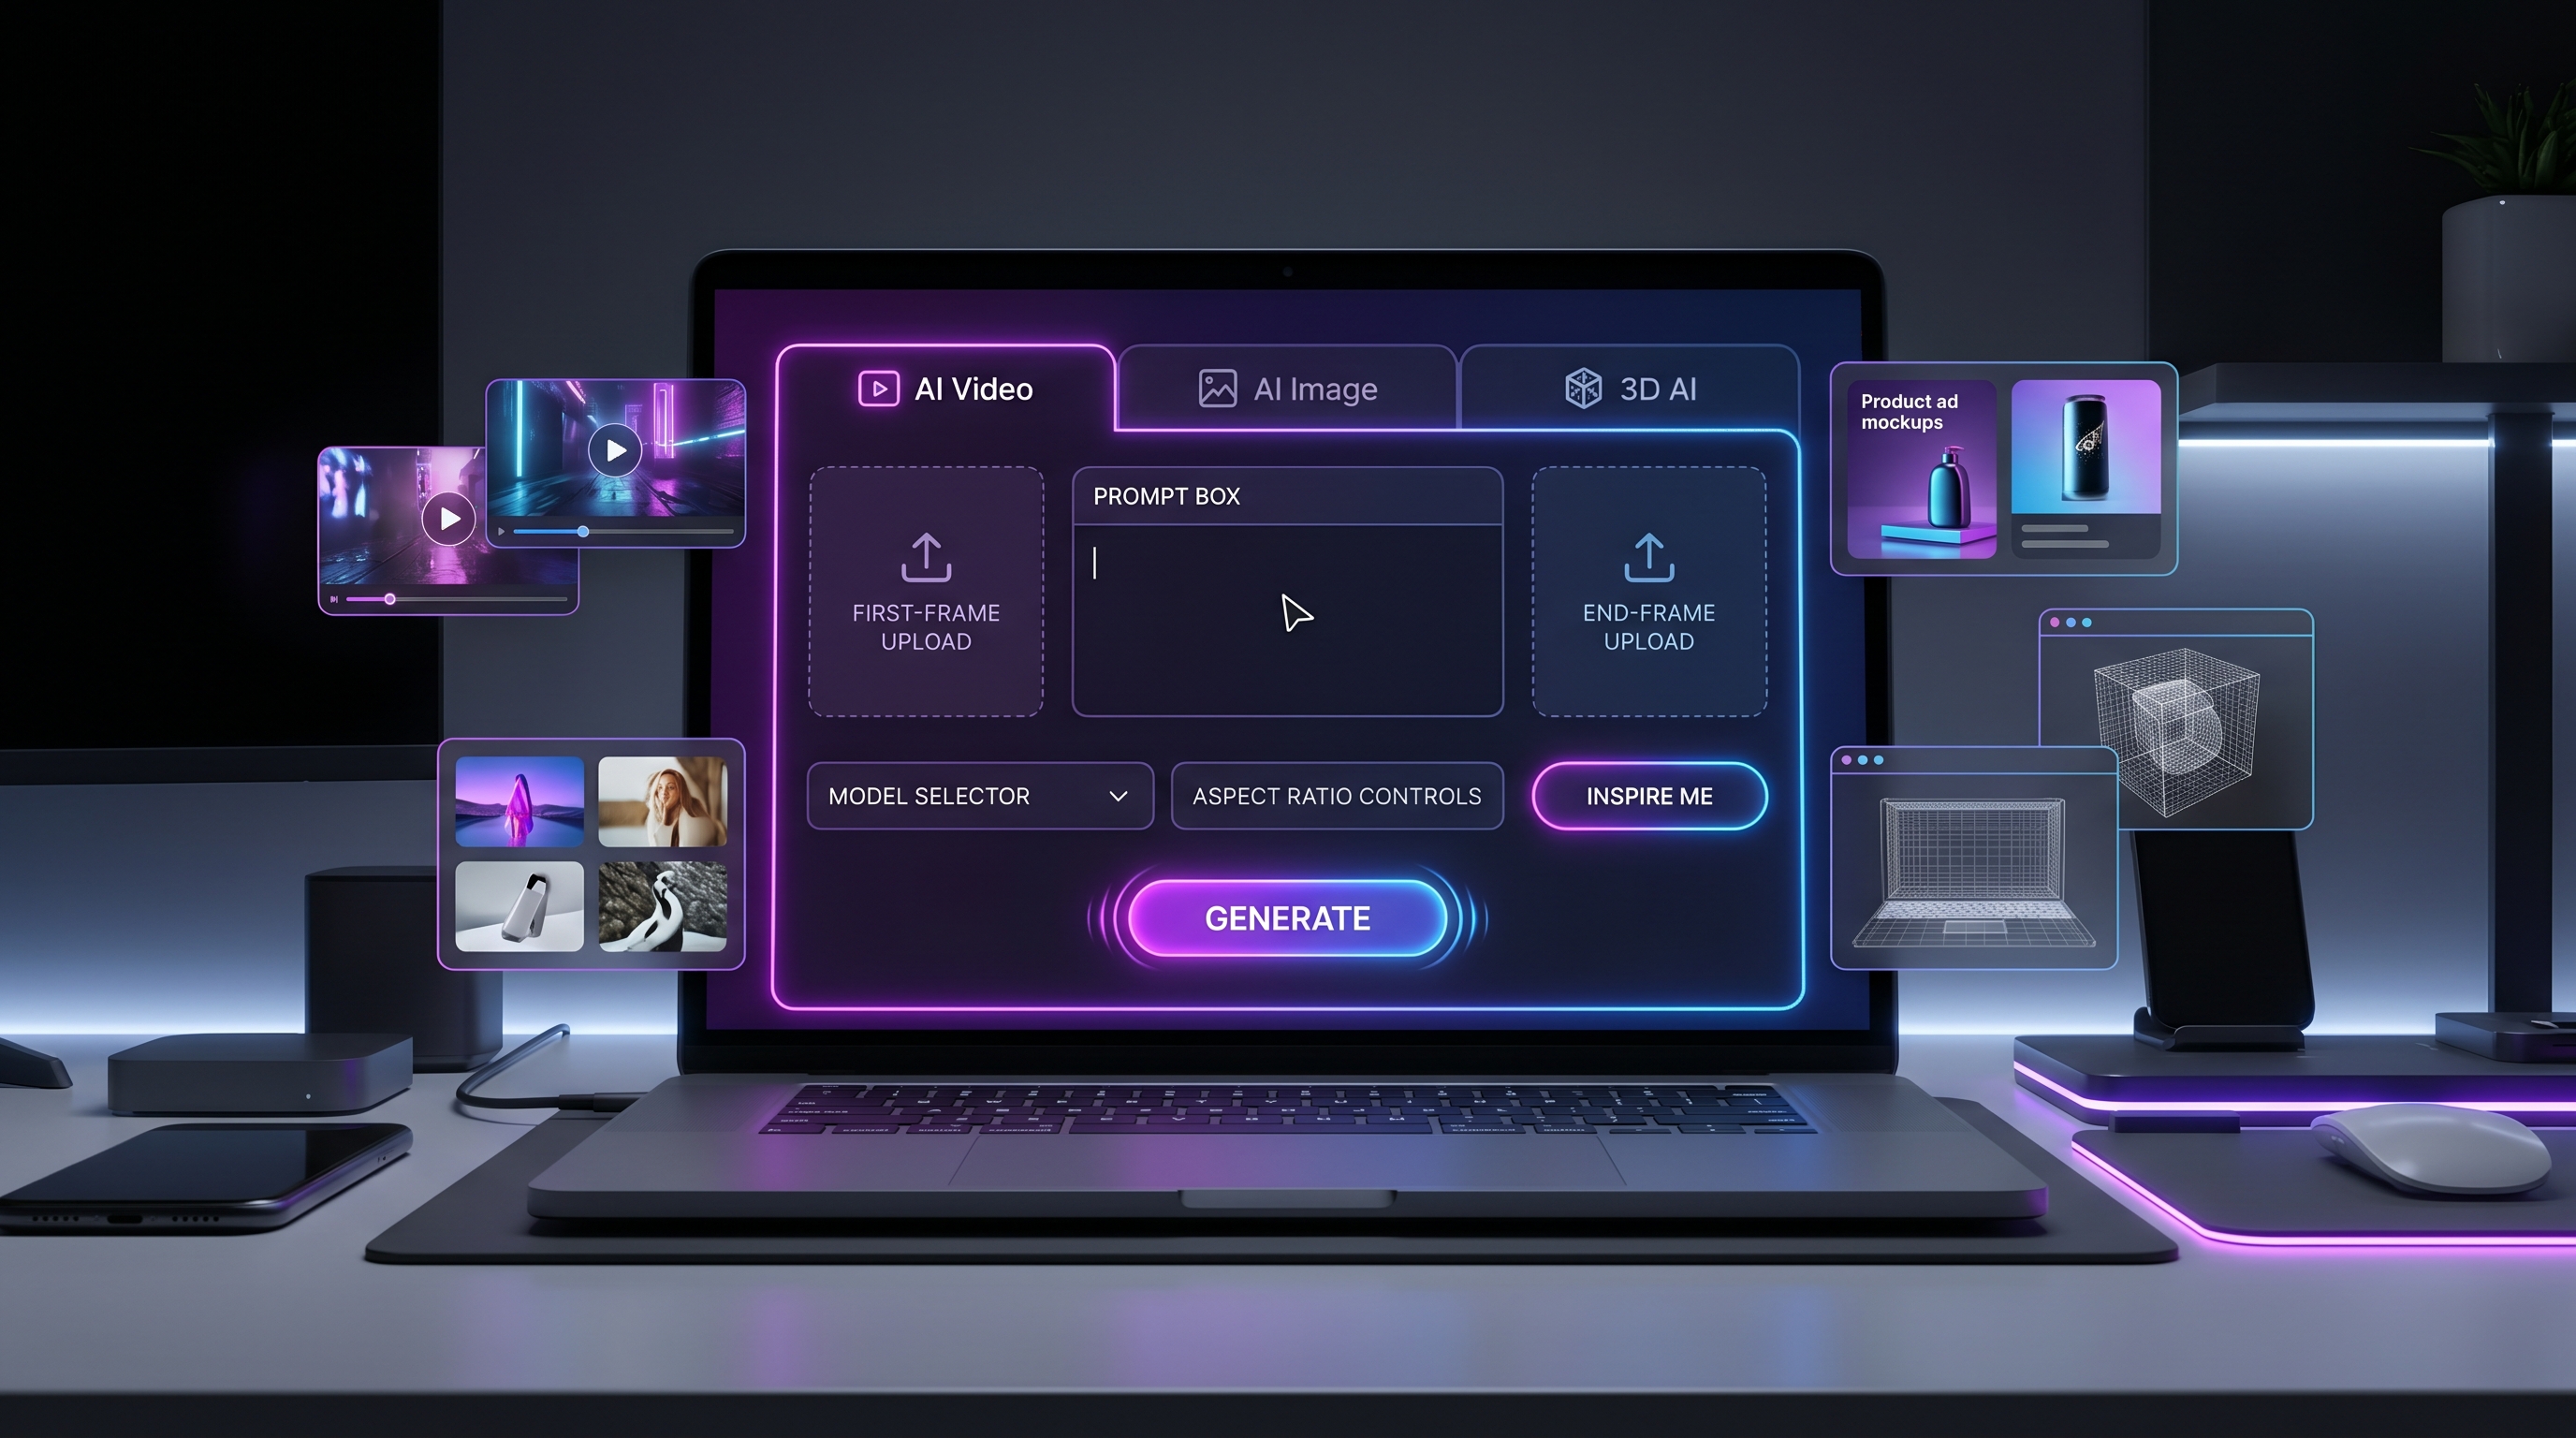
Why use HeyDream AI for Tripo 3D image-to-3D
HeyDream AI makes the workflow simple: upload an image, generate a model, preview the result, and export. It’s a convenient way to try image to 3D Tripo without stitching together multiple tools.
Common creator use cases include:
- Game prototyping: quick props and environment assets
- Product visualization: fast 3D mockups for pitches
- Content creation: rapid 3D models for animation tests
- 3D printing prep (with cleanup): concept-to-print pipelines
If you’ve been searching for a straightforward Tripo image to 3D converter workflow that doesn’t assume you’re already a 3D artist, HeyDream is a friendly place to start.
Before you generate: image prep that actually improves results
A strong input image is the difference between “usable model” and “melted blob.” Spend two minutes here—it will save you twenty minutes later.
Pick the right image
Aim for:
- A single main subject
- Crisp edges (no motion blur)
- Good contrast between subject and background
Avoid (when possible):
- Crowded scenes
- Extreme perspective distortions
- Very dark photos with crushed shadows
Clean background and framing
Try to give the model a clean outline:
- Keep the subject centered
- Leave a little margin around it (don’t crop critical edges)
- Prefer plain or uncluttered backgrounds
If you can, remove the background in an editor first. Even a rough cutout can help the AI understand what’s “the object” versus “the world behind it.”
Resolution tips
Use the highest quality image you have, but avoid images that are over-sharpened or heavily compressed. A moderately high-res PNG or a clean JPG is usually ideal.
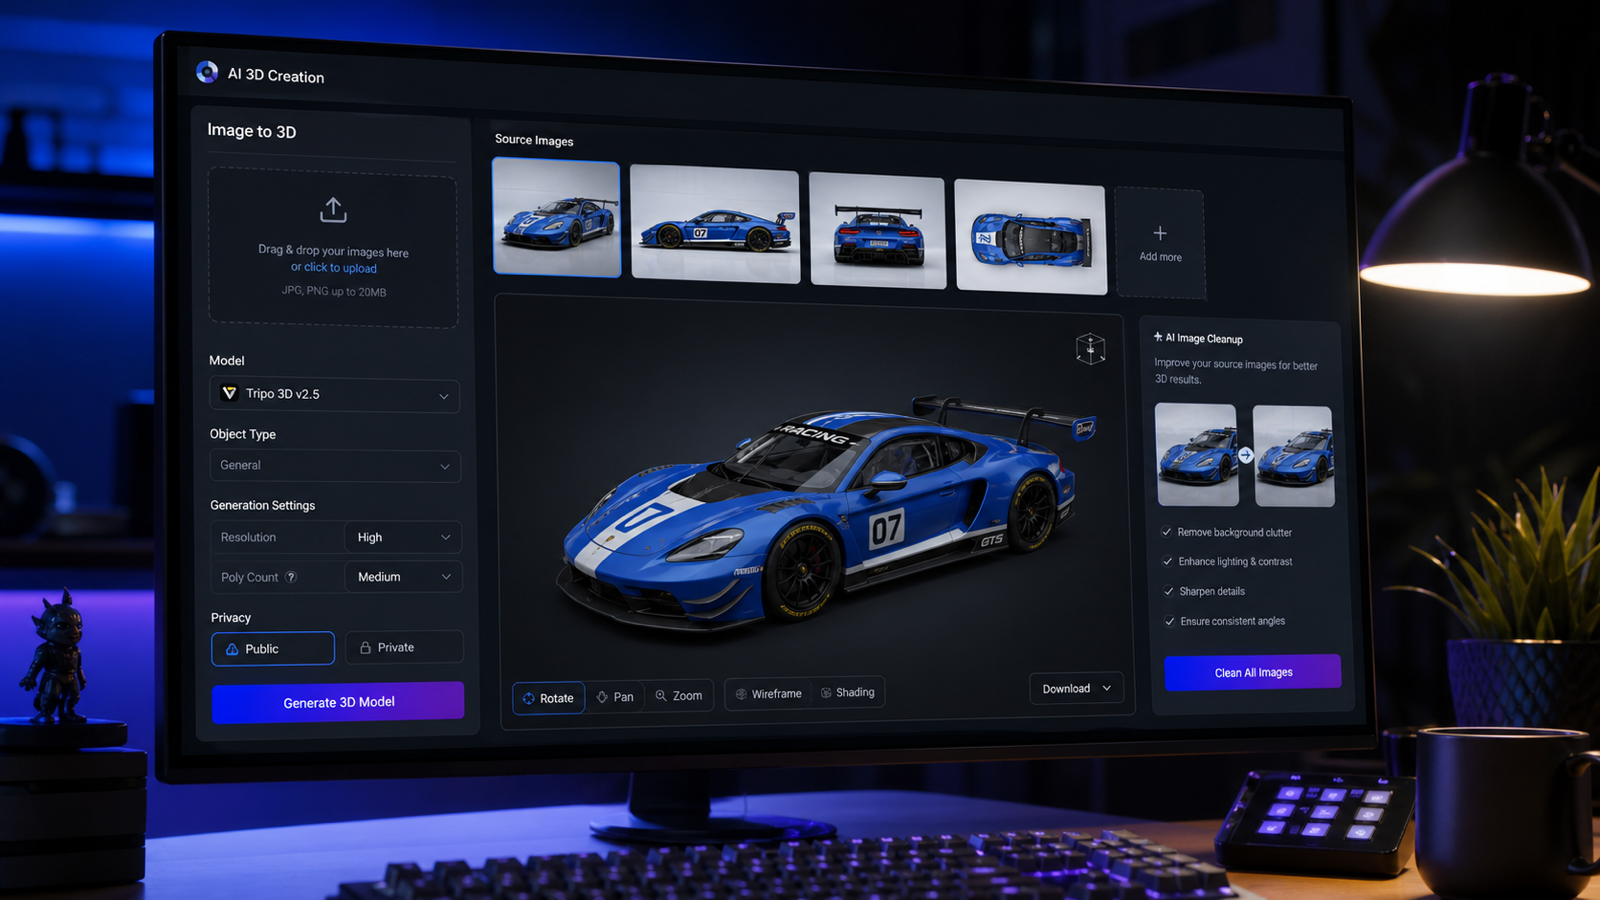
Quick interface walkthrough (so you know what you’re clicking)
When you open HeyDream’s Image to 3D page, you’ll typically see:
- Upload Image area (click or drag to upload)
- An AI Generation option (useful if you need a cleaner source image)
- A Public toggle (whether your generation is public-facing)
- A Generate button with the cost shown
Once you’re familiar with the layout, the actual process is quick.
Tripo 3D image to 3D step by step (on HeyDream AI)
This section is the heart of the tutorial: Tripo 3D image to 3D step by step, written so you can follow it once and repeat it confidently.
Step 1 — Open the tool
Start here: Tripo 3D image to 3D on HeyDream AI.
Step 2 — Upload your image
Drag-and-drop your image into the upload box, or click to select a file.
Before you proceed, do a quick visual check:
- Is the subject clearly visible?
- Is the background simple enough?
- Are the edges sharp and readable?
If the image fails any of those, choose a cleaner photo or do a quick background removal.
Step 3 — Optional: use AI Generation to create a better input
If you don’t have the perfect photo, HeyDream’s AI image creation option can help you produce a clean “product shot” style image:
- Plain background
- Centered subject
- Even lighting
This can be especially helpful when your original photo has clutter, harsh shadows, or multiple objects competing for attention.
Step 4 — Generate the model
Click Generate and let the tool process.
If your goal is simply how to convert image to 3D model with Tripo 3D, this is the moment you’ll repeat most often: upload → generate → evaluate.
Step 5 — Preview and evaluate
When the result appears, focus on these three checks:
- Overall shape: does the silhouette match the original?
- Major features: are the key details present?
- Surface quality: are there obvious holes, lumps, or stretched textures?
If the silhouette is wrong, fix the input image first. If the silhouette is right but details are messy, you may be able to clean it up after export.
Step 6 — Export for your next step
Export the model for your workflow—common next steps include:
- Blender: mesh cleanup, smoothing, hole filling
- Unity/Unreal: quick prototyping and scene placement
- 3D printing tools: watertight checks and thickness validation
At this point, you’ve successfully used Tripo to turn a photo into a 3D model on HeyDream.
Quality tips that make your results look better
If you want models that look less “AI generated,” these practical habits help:
- Prefer images with clear depth cues (soft shadows, gentle gradients)
- Avoid glossy highlights and reflections
- Keep the subject larger in frame so small features aren’t lost
- Try a second run with a cleaner version of the same subject
A good rule: simpler inputs create stronger geometry. You can always add detail later in your 3D tool.
Troubleshooting: common problems and quick fixes
“Melted” or blobby shapes
Why it happens: the AI can’t separate object from background, or edges are unclear.
Fixes:
- Use a cleaner background
- Increase contrast around the silhouette
- Switch to a sharper photo
Missing thin parts (straps, fingers, wires)
Why it happens: thin geometry is easy to lose in single-image reconstruction.
Fixes:
- Use a closer shot
- Choose an angle where thin parts stand out from the background
- Plan to rebuild thin parts in Blender (often faster than regenerating repeatedly)
Texture stretching or weird patterns
Why it happens: reflective materials, complex patterns, or noisy lighting.
Fixes:
- Try a more evenly lit photo
- Reduce glare and reflections
- Re-texture after export if necessary
Holes or broken mesh
Why it happens: hidden surfaces and ambiguous geometry.
Fixes:
- Regenerate with a clearer image
- Patch holes in Blender (fill, remesh, or voxel tools)
Best next steps after export (beginner-friendly)
If you’re new to 3D, here are simple “first cleanup” tasks that make a big difference:
- Smooth normals for better shading
- Fill obvious holes on the mesh
- Light remesh/decimate to reduce messy topology
- Set scale and pivot/origin before importing into engines
For game assets, focus on silhouette and performance. For printing, focus on watertight geometry and thickness.
When to use Tripo’s image-to-3D approach (and when not to)
This workflow shines when you need speed:
- Prototyping props and environment objects
- Quickly visualizing product ideas
- Turning concept art into a blockout model
Consider other methods when:
- You need perfect topology for hero characters
- The subject is transparent/reflective
- You require exact measurements out of the box
Even then, AI image-to-3D is still useful as a starting point.
Wrap-up
If you want a fast, practical way to go from picture to 3D, HeyDream makes it easy to try Tripo in a simple workflow. Start with a clean image, generate once, evaluate the silhouette, and export for cleanup.
When you’re ready to try it yourself, use HeyDream’s Tripo 3D image to 3D tool and keep this guide handy for repeatable results.